
I have been experimenting with 360 degree photography for some time now as I frequently take lodge photography for our clients at WildWeb. We have seen more user interest generated for those clients that have 360 degree photos images on their website and Google My Business listing.
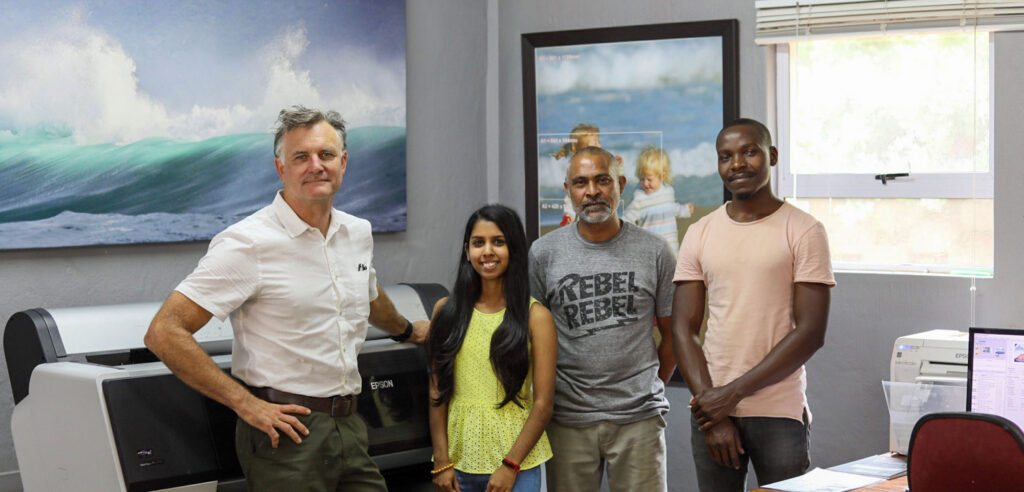
This image was taken at PrintWild and then stitched together, with the alignment using Pano providing excellent results. Due to the fact that when rotating through 360 degrees the HDR mode on the camera gave me satisfactory results for the different lighting throughout the shot.
Before deciding to create a DIY nodal camera bracket for my 360 degree photography, I would place a coin (or something similar) on the ground, then use the viewfinder to find the nodal centre, and rotate the camera around that point. This improvised method has always worked perfectly; plus, the price of nodal bracket has always seemed exorbitant for it is.
But I decided it was time to ditch the coin approach, but still keep it DIY by trying my hand at making my own nodal bracket.
Guide to making your DIY nodal camera bracket
Parts required
- 1 x piece of timber measuring 130mm x 26mm x 35mm
- 2 x 25mm long ¼ inch UNC bolts
- 2 x nuts for bolt
- 2 x washers for bolts
Tools required
- Sand paper
- A socket spanner to fit bolt heads
- Drill bits
- Hole bit 20mm
- Hole bit 10mm
My equipment
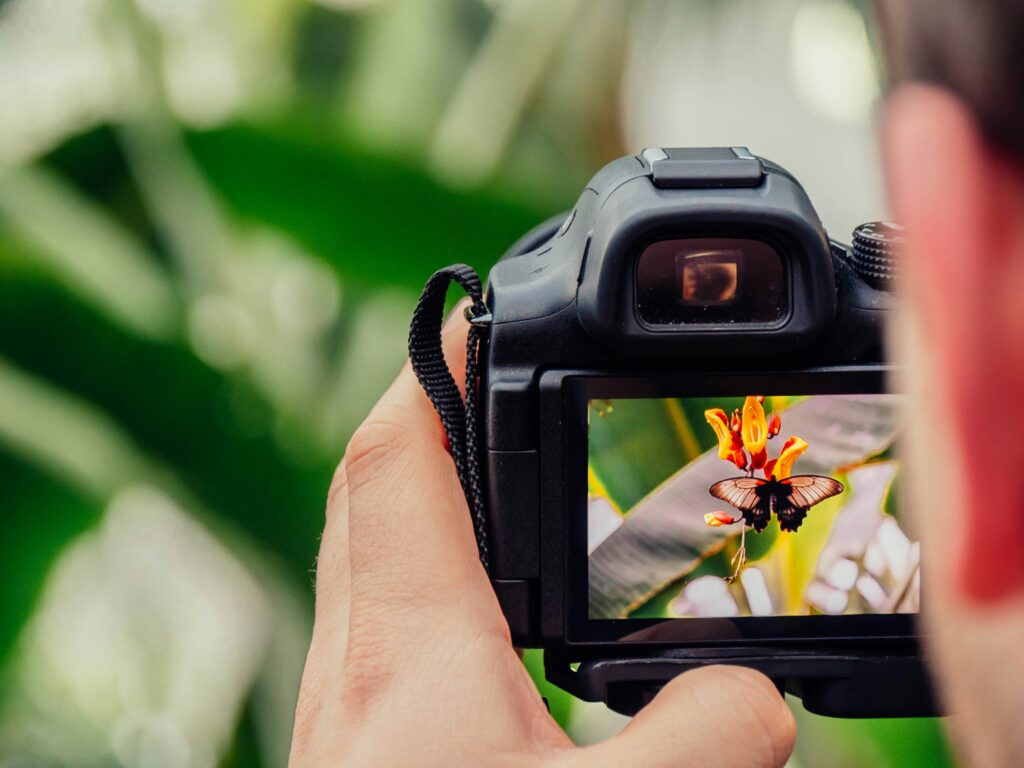
- Canon 5D Mark IV
- Canon 8 – 15mm fish-eye lens
- Sirui Tripod with universal mount and tripod bracket for 20mm sliding leeway
The Process
The distance will vary depending on your camera set-up, but in my case…
- Drill two ¼ inch holes for the bolts, 78mm apart on either end of the bracket.
- Counter-sink the bolts into the bracket so that:
- On the camera end, the bolt protrudes 5mm to screw into the camera.
- On the tripod end, counter-sink the nut so that it is flush with the timber bracket using the 10mm hole bit. The bolt need only use about 1⁄3 to 1⁄2 of the thread; the remainder will be used for the tripod bracket screw.
- When drilling the counter-sink holes for the bolts, go slowly and keep testing the depth to avoid drilling too far.


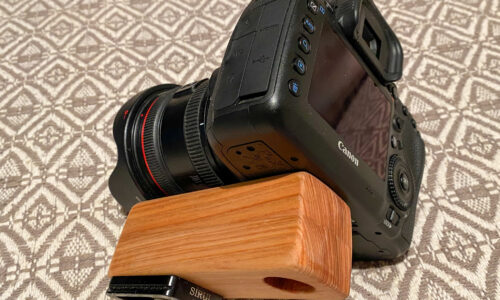

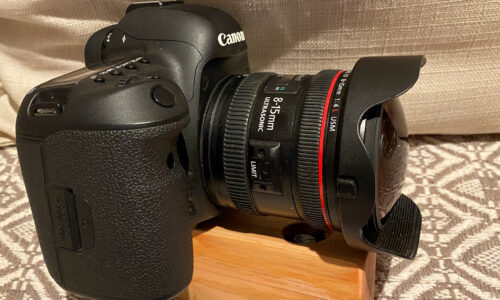
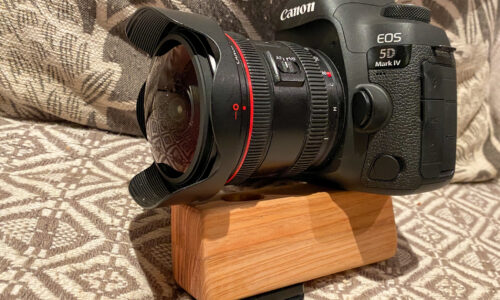
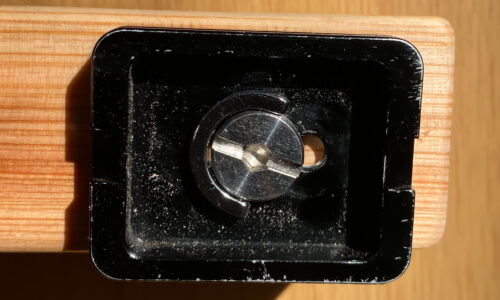


Not only does this DIY nodal camera bracket work perfectly, it was also a lot of fun making it! Drop me an email if you have any questions about this process or anything else relating to the products we offer here at PrintWild.